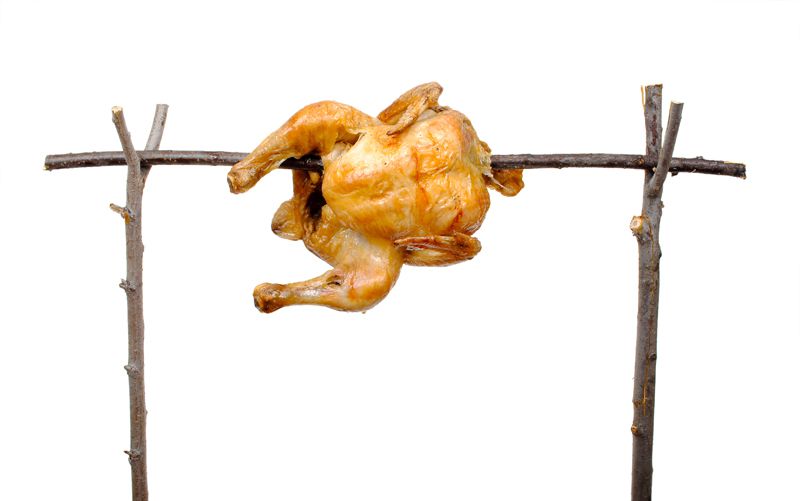
 Don’t feel like you have to have attended Cordon Bleu to be able to produce a beautiful meal for your family. Cooking is a lot easier than you think, if you approach it intuitively. There are, of course, a lot of complex things involved in many disciplines (making sauces, baking, etc.), but most moms at home can make absolutely fabulous meals without too much effort. This meal, roasted chicken and veggies, is one of my favorites with the family, plus it’s super-easy to make. Seriously, there are three basic steps to the entire meal. Check our tips for How to Roast the Perfect Chicken at Home. Let’s get started!
Ingredients
First, you need your ingredients. I am a very versatile cook, I don’t like measuring things, and sometimes you have to just work with what you have. SO, with that in mind, follow these ingredients to YOUR tastes, too! Here are the basics:
- 1 or 2 whole chickens (washed and patted dry)
- herbs: (to your preference here, but these are my faves) fresh dill, black pepper, thyme, sage, parsley, bay leaf (whole and crushed or in powder form)
- garlic (I end up using about half of a whole clove, between prepping the chickens and using it on the veggies, I’m a garlic nut, if you’re not, reduce the amount)
- salt (to taste; use about a quarter of a tbsp. for the chicken and sprinkle atop the veggies while cooking)
- butter 1/2 to 1 stick (also depending on your preferences, but you really need about half a bar to be able to prep the chickens, you can use olive or other oil on the veggies if you prefer)
- 1-2 whole lemons or limes
- veggies to roast with the chicken (I prefer carrots, onions, and potatoes, but it’d be great with green beans, sweet potatoes, corn on the cob, turnips, etc.)
That’s it!
Cookin’ up a Storm
- First, pre-heat your oven to about 350-400 (I have a European gas stove that doesn’t give temperatures, I set it at the 3-4 gas mark)
- Line a large roasting pan with aluminum foil, lightly glaze the foil with oil to keep the veggies from sticking
- Mix your herbs with softened butter and salt. (If you’re only roasting one bird, use about 1/4 stick butter, for 2 use 1/2 stick. Use as much or as little herbs as you want. I love a lot of them)
- Juice the lemons and add about 2-3 tbsp of the juice to the butter mixture, Once it is a nice, squishy texture and the herbs are mixed in well, set it aside for a moment.
- This is the gross part, but it is really important: slip your fingers between the skin and the breast of the chicken, beginning at the bottom of the breast, where the body cavity opening is. Slide your hand back toward the top of the breast, creating a pocket between the skin and the chicken. Make sure you reach down into the thighs and do the same, too. DO NOT REMOVE THE SKIN.
- Once you have the skin separated, take a few fingerfuls of the softened butter mixture and slide it up inside the pocket you just made. Make sure you get some under the skin in the thigh areas, too. This butter will melt during cooking, seasoning the bird and basting it at the same time. The skin will taste phenomenal.
- Once you’ve gotten the butter under the skin, lightly salt the outside of the chicken, and you can apply a little of the butter to the surface, too.
- Cut your veggies and arrange them around the chickens. Don’t put them inside the chicken, since this is dangerous (salmonella). Sprinkle them with salt, some herbs, or even a couple of dabs of the herb butter mixture.
- Take the lemon peels, a couple of garlic cloves, and a little chopped onion and put it into the body cavities of the chicken. This flavors it from the inside-out.
- Cover the whole thing with aluminum foil, slip it into the oven.
- Use a meat thermometer. Every 20 degrees or so it rises, take the chickens out, drain the accumulated drippings/melted butter into a cup and re-baste with a brush, making sure to cover the veggies, too. Re-cover, return to the over. Once it hits 160, remove the tinfoil and turn up the heat to broil, which will make your skin nice and crispy. Drain as much of the drippings and melted butter as you can and put aside for the gravy. Also, when you are draining the chicken, stir around the veggies so they don’t burn to the bottom of the pan and can cook evenly on all sides.
- While the skin is crisping, pour the drippings and butter mixture into a saucepan and bring it to a boil. If you don’t have enough, boost it a little with some water and a chicken consomme or bouillon cube. Make a roux, using flour and the remaining butter-herb mixture. You know it’s right when your roux is creamy but not runny, and looks glossy because the flour has absorbed all the butter; this prevents lumps. Once the liquid in the saucepan is boiling, stir in the roux a bit at a time, using a whisk or fork. Don’t dump it all in at once to avoid making the gravy too thick or too thin. As you stir you will know it is right, the gravy should be thickened up enough to cling to the whisk but not so thick it clumps. Remove from heat.
- Once the chicken is nice and crispy, remove it from the heat and set it aside (usually while you’re finishing up the gravy). Meat must rest for 10-15 minutes after cooking, or else when you cut it the juices will run out, leaving you with a dry chicken. This will give you time to finish up the gravy and to make a salad (I like a simple one of tomatoes, cucumber and lemon juice with a pinch of salt), and perhaps some rice, because this gravy is awesome on rice!
- You’re ready to serve! Prep time takes about 15 minutes, and cooking will be anywhere from 40 minutes to 1.5 hours, depending on if you’re using one bird or two. Carve up some chicken onto each plate, add a spoonful of rice, a spoonful of veggies, some salad, maybe a roll, and ladle that gravy on top of the chicken, veggies and rice. It’s SO good.
- NOTE: This is not a low-fan recipe, but you can make it lower-fat by using a heart-healthy margarine or olive oil instead of butter. Just remember that if you use a liquid oil, you need less of it to spread. For those with gluten problems, use cornstarch or a gluten-free gravy thickener to make your sauce instead of flour.


