Browsing Category

snacks

Palm to Coconut Popsicle at One&Only Palmilla

EAT, International, ROAM, snacks By June 24, 2013 Tags: , , , , , , No Comments

With the explosion of farmers markets and the locavore movement, everyone is interested in knowing where their food comes from. One&Only Palmilla in Los Cabos, Mexico, is taking the concept a step further. The new “Palm to Popsicle” program lets kids at the resort see the journey of a coconut from a palm tree, to the kitchen, and into a freshly made popsicle.

As an official “Coconut Hunter,” when a child spots a ripe coconut in a tree, a gardener will cut down the coconut. They will then head into the resort’s kitchen where the children will work with a chef to break open the shell and then help to make a fresh popsicle from a straight-from-the-tree, hyper-local coconut.  Children can take home the recipe for their coconut treats.


One&Only Palmilla Coconut Popsicle

Servings: 12

2 cups of fresh coconut water
2 cups of chopped coconut “meat”
1 1/2 cups of unsweetened coconut milk
2/3 cups of pure agave syrup
2 ounces of fresh lime juice
Grated zest of one lime 

Step 1: Place all of the ingredients in a blender and blend at medium to fast speed for one minute.

Step 2: Fill a popsicle mold and place in freezer; when half frozen, remove from freezer and insert popsicle stick.

Step 3: When completely frozen, loosen the popsicle by running warm water over the outside of the mold. Enjoy!


Share:

20 Picnic Basket Essentials Inspired by Anne Parks

EAT, lunches, snacks By June 19, 2013 Tags: , , , , , , , No Comments

When you meet Anne Parks the first thing you notice is the sparkle in her eyes.  Easy-going and in love with life, she infects you with curiosity.  And then she talks about her vegetable gardens and beekeeping, her gourmet cooking and passion for finding new food trends when she travels.  You would never guess that this vibrant, youthful woman with a phenomenal mane of blond hair has worked with McDonald’s Restaurants for 34 years and is now the Director of Menu Management for McDonald’s Canada.  But then again, every executive I’ve met with at the company has been there for at least 30 years.  Listening to Anne talk at the Vancouver picnic-style launch of the newly developed Signature McWrap® gave us all a window into her passion and the reasons why McDonald’s Canada retains the great people who work there.

UrbanMommies ran a contest inviting readers to share their favourite must-have picnic items, and ten lucky parents attended the special lunch.  We learned so much from Anne about what goes into the process for choosing menu items and we were intrigued to hear about the Canadian palate.  In coming up with flavours for the new grilled or crispy chicken McWrap, she took into account  Canadians’ penchant for  spicier foods, and also our love of different textures within each bite.  (Think: crunch with a bit of bite and smoothness in the same mouthful). The sandwiches also come with a whole wheat wrap – a first for McDonald’s globally and only the second whole wheat item apart from the bun of the Premium Chicken Sandwich.

Anne Parks and her team travel to different parts of the world to explore fresh street markets, flavours and trends, and then bring their findings back to the McDonald’s test kitchen.  Working with dietitians and specialists in areas of pastry and baking, the team comes up with items that are tested for taste, quality, nutrition and consistency.  With the Signature McWrap, I loved the diversity that made me feel as if I were travelling.  I get in different ‘food moods’ so being able to pick Asian, Mexican or North American-themed flavours is a bonus.  The Signature McWrap comes in three flavours Fiesta, Sweet Chili, and Chicken and Bacon.

The luncheon was special in that guests got to ask very specific questions, and Anne was incredibly receptive to suggestions.  Comments about lower-sodium ketchup and options for healthy Happy Meal side dishes started to flow, and the lunch whizzed by.  We drank frozen Chai Iced Frappés and Iced Frappes that were also developed by Parks.

In an interview about her job and life, Parks clearly shows her love of food, people, and bees!

So for our picnic-loving readers, the contest was an incredible opportunity to gather and curate a ton of ideas about summer lunches.  We have compiled the ideas to help you plan your own picnic basket and make beautiful memories with your kids.  As much as I love making sandwiches, though, I’m personally counting on picking up a bagful of the grilled chicken Sweet Chili Signature McWraps, as they are certainly better than anything I can produce at home.  Thanks Anne!

20 Picnic Basket Essentials

1.  Baby Wipes (almost everyone included this!)
2.  A game like ‘Spot it!’
3.  Celery sticks in a lidded jar with peanut butter or cream cheese at the bottom
4.  Cloth napkins in fun colours cut with pinking shears – fun and great for the planet
5.  Extra bags and ziplocks for treasures the kids find during the picnic
6.  A blow-up ball.  It’s lightweight and great for encouraging activity
7.  Afterbite, bug spray and a first aid kit
8.  Old quilts and soft sheets
9.  A small vase for found flowers
10.  A jambox to connect to your smartphone for music
11.  Microwave popcorn cooked still in the sealed bag
12.  A blank book and pen for the family to write memories and share ideas
13.  Lemons and limes already cut up with ice water (we use frozen water bottles that you can drink as they melt)
14.  A scavenger hunt printable (we found one HERE).
15.  Tin dishes.  You can often find them at yard sales or camping supply stores
16.  Old-fashioned games (think: etch-a-sketch, cards, cat’s cradle)
17.  A trash bag
18.  Loveys for the kids in case the picnic sneaks into nap time
19.  Vintage mismatched silver plate cutlery
20.  Candles in tall jars

We’re looking forward to hearing picnic tales throughout the summer and having photos sent to us too!  Enjoy the memories and make sure that your meals have some crunch and some spice!

Share:

Tropical Peach Breeze Smoothie

EAT, snacks By April 8, 2013 Tags: , , , , , , , , 1 Comment

After a fruit-filled tropical March break, the family is completely hooked on two things: peaches and coconut water!  Getting back into the school routine wasn’t easy, but breakfast is proving to be less stressful (and more healthful) than it was prior to the vacay. With a chill still in the Canadian air, I had resigned myself to using expensive, imported fruit.  But then I was given a revelation: canned peaches are amazing!  Their nutritional value is not only on par with fresh peaches, but they actually have 1.5 times more antioxidants and their Vitamin C levels are 3.5 times higher than fresh.  California Cling Peaches are canned within 24 hours of delivery to the cannery, which ensures that the peaches maintain superior taste and nutritional value.  The way to find them is to look at the various peaches in the stores to make sure they say Made in the USA – those are the California Cling Peaches.  With this new information, I found a recipe that has quickly become a stable in the house (and at the office!).

Tropical Peach Breeze Smoothie

1 can 14 oz / 398 mL California cling peaches (slices)
½ cup coconut water or plain or vanilla almond milk
½ cup Greek vanilla, honey or peach yogurt, preferably 0%
1 tsp vanilla
¼ tsp ginger
tsp nutmeg
Honey or agave syrup (optional)

Prep: 5 min Total time: 5 min

Directions

Drain peaches reserving 2 tbsp (30 mL) juice. Place peaches, reserved peach juice, coconut water or almond milk, yogurt, vanilla, ginger and nutmeg in a blender. Blend until smooth. If you wish sweeten with honey or agave syrup.

Makes about 2 cups (500 mL) for 2 smoothies.

Share:
Strawberry Mini Panini Recipe

It’s World Nutella Day! Strawberry Mini Panini Recipe

EAT, snacks By February 5, 2013 Tags: , , , , , , No Comments

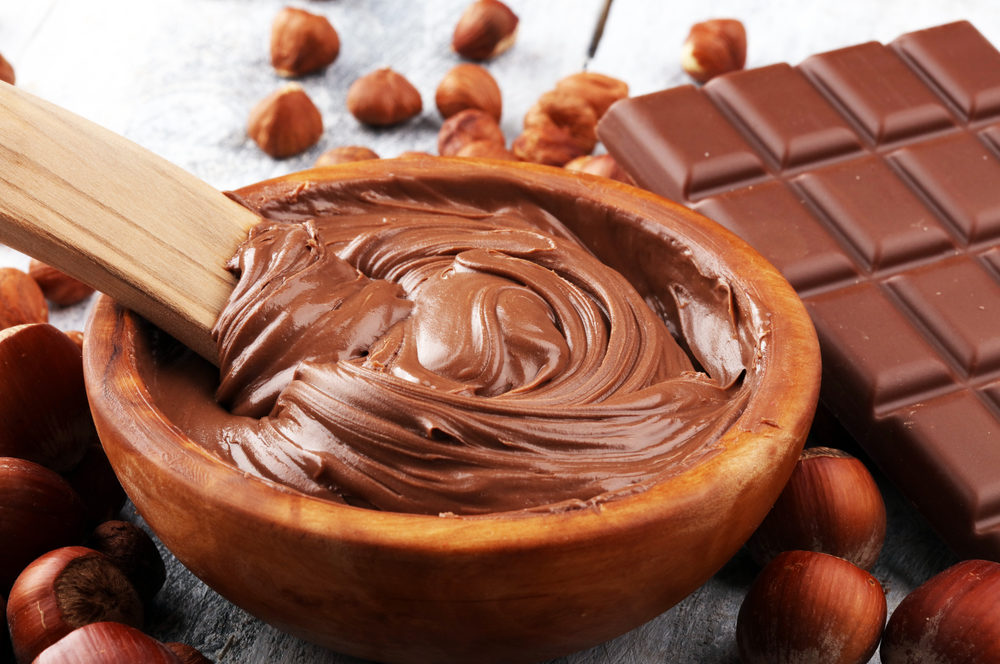
We all know that breakfast is important, but did you know that today is extra-special?  It’s World Nutella Day! In honour of February 5th, here is a strawberry mini panini recipe.  This delicious celebration was started by two fans in Italy in 2007 and has spread, like Nutella on toast, worldwide.  In a throwback to the brand’s Italian roots, Nutella is sharing a Nutella and Strawberry Mini Paninis breakfast recipe. These delicious paninis are filled with fresh strawberries, creamy ricotta cheese and, of course, Nutella.

Share:
Go-Go Green Juice

Go-Go Green Juice

EAT, snacks By January 4, 2013 2 Comments

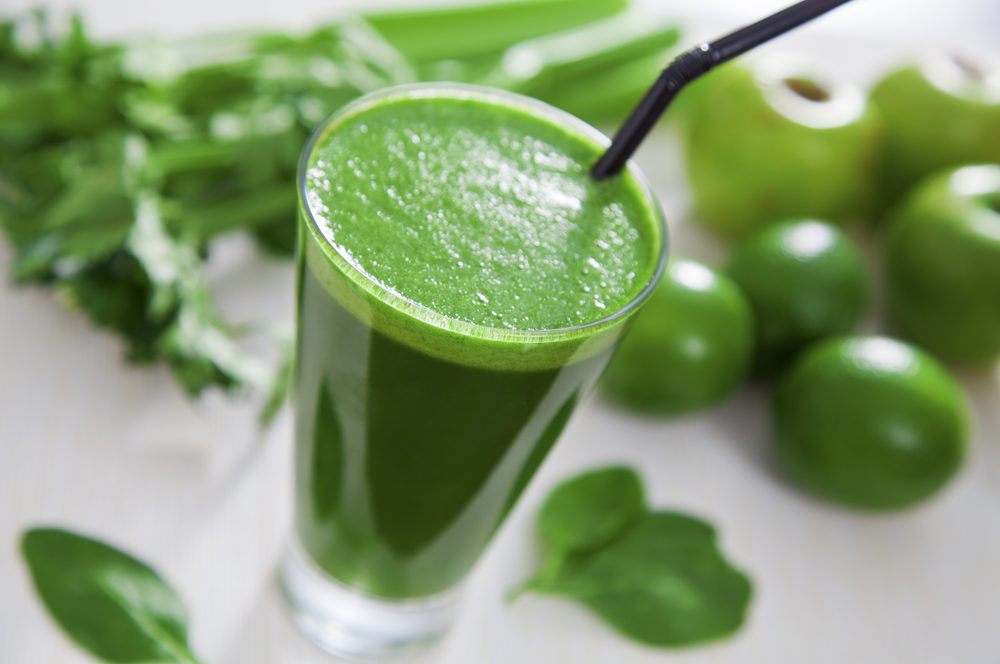
The new year is a perfect time to start each day with a shot of health.  We give this Go-Go Green Juice to our kids too, and if yours don’t like the colour, calling it ‘Monster Juice’ can help.  If all else fails, add frozen blueberries and call it a milkshake!

Share:

Goat Cheese and Fig Crostini

EAT, snacks By December 28, 2012 Tags: , , , No Comments

This fig and prosciutto hors d’oeuvre uses dried figs- cheaper than fresh and available year-round. You can make the baguette toasts earlier in the day and store them in an airtight container at room temperature.

Serves: 14 (2 per person)
Prep time: 10 minutes
Cook time: 6 minutes
Difficulty Level: Easy Wow

1 Baguette, cut in 28 slices each ½-inch (1 cm) thick
6 tbsp (90 mL) extra virgin olive oil
1 pkg (300 g) Soft Unripened Goat’s Milk Cheese
3 tbsp (45 mL) 35% whipping cream or milk
½ tsp (2 mL) freshly ground black pepper
¼ tsp (1 mL) salt
¾ cup (175 mL) finely chopped dried figs (about 7)
1 pkg (125 g) Prosciutto

1. Preheat oven to 350°F (180°C). Place baguette slices on baking sheet. Brush both sides with 3 tbs (45 mL) of the olive oil. Bake in centre of oven for 6 minutes, turning once, or until slightly crisp. Cool on baking sheet.

2. Meanwhile, in large bowl, stir together goat cheese, cream, pepper and salt until softened. Stir in figs.
3. Spread goat cheese mixture evenly over baguette slices, using about 1 tbsp (15 mL) per slice. Drizzle crostini with remaining 3 tbsp (45 mL) olive oil. Tear each slice of prosciutto into four pieces; arrange one piece decoratively onto each crostini.

Makes 14 servings

Share:
Homemade Fruit Rollups Recipe

Homemade Fruit Roll-ups Recipe

EAT, lunches, snacks By November 16, 2012 Tags: , , , , , , No Comments

Do your kids love fruit roll ups, but you don’t love that store bought ones are mostly just sugar?! Our Homemade Fruit Roll-ups are a fantastic snack and a great activity to make with the kids.  Better yet?  When you make them yourself you save money and know exactly what ingredients are going into the kids’ lunches.

Homemade fruit roll-ups recipe

2 cups organic strawberries (or other fruit)
¼ tsp cinnamon

  • Blend the fruit until smooth, then spread onto a Teflex sheet or a parchment-lined baking sheet.
  • If using a dehydrator, dehydrate at 105 degrees F for 8-10 hours or until the fruit is pliable and easy to peel from the sheet.
  • If using an oven, leave it on at the lowest temperature until the fruit is dry (times will vary depending on the oven).
  • Cut into strips and store in a glass container in the refrigerator.

From My Edible Advice

Share:
munchy crunchy crackers

Homemade Munchy Crunchy Crackers Recipe

EAT, snacks By October 19, 2012 Tags: , , , , , , 1 Comment

One of my biggest pet peeves as a parent is that so many store-bought crackers are filled with excess salt and bad grains.  (And to purchase all natural ones can blow your food budget.)  So I was thrilled to find Jennifer Low’s recipe for crunchy munchy crackers in Everyday Kitchen for Kids.  It’s amazing to make your own crackers! These taste so good on their own, but you can also eat them with cheese, if you like. You will need a helper with the baking step.

Supplies you will need

baking sheet, parchment paper, bowls, measuring cups, measuring spoons, baking spatula, dinner knife, rolling pin, fork, pizza wheel, cooling rack (the metal kind for cooling cookies)

Ingredients

1 cup (250 mL) all-purpose flour (spoon in, level; see page 19)
1/4 cup (50 mL) whole wheat flour (spoon in, level)
1/2 tsp (3 mL) chili powder
1/2 tsp (3 mL) dry mustard
1/2 tsp (3 mL) white sugar
1/3 cup (80 mL) milk
2 Tbsp (30 mL) butter

Preheat the oven to 350°F (175°C).

Cut three sheets of parchment paper, each the size of your baking sheet. Set aside.

In a bowl, mix the two kinds of flour, chili powder, dry mustard (be sure to use the back of a spoon to mash out any lumps), and sugar. Set aside.

In a microwave-safe bowl, heat the milk and butter in the microwave at 50% power until the butter is melted (about 1 minute).

Pour the milk mixture into the flour mixture. Use a baking spatula to scrape all the milk mixture into the flour bowl. Mix the ingredients into a dough, scraping sticky ingredients off the spatula with a dinner knife. When the dough gets too stiff to stir—keeping the dough in the bowl—use your hands to squeeze the dough against the crumbly bits and dry flour in the bottom of the bowl to work them into the dough.

Use a dinner knife to cut the dough into two equal-sized pieces. Put the first piece between two of the sheets of parchment paper you cut earlier. Put your rolling pin on the top sheet of parchment and roll out the dough to 1/16 inch (2 mm) (see “One- Quarter-Coin Rule,” page 17). To make excellent crisp crackers, it is very important to roll the dough that thin. First roll across the whole piece of dough to flatten it, then make it even thinner by rolling from the middle of the dough out to the edges. Press down hard. And just when you think it’s thin enough, roll it out again and check against the quarter coin. The dough puffs up a lot as it bakes.

Peel off the top sheet of parchment. Prick the rolled dough every inch (2.5 cm) with a fork. Use the pizza wheel to cut a checkerboard pattern into it. The squares should have about 1 1/2-inch (4 cm) sides. Don’t pull apart the squares of dough. Leave them exactly where you cut them, touching in rows. Slide the parchment paper—with the dough on it—onto a baking sheet. Bake for 15 minutes.

While the first batch bakes, roll out the second piece of dough between two pieces of parchment, prick and cut it the same way as the first. Bake this batch the same way as the first batch (either use a second baking sheet or cool off the first one and use it again). Keep the oven on after baking the second batch. You will still need to bake all the crackers again to crisp them.

Remove the baked crackers and parchment from the baking sheet. Put a cooling rack on the baking sheet. Pull apart the crackers into squares and place them on the cooling rack.

Put the baking sheet—holding the cooling rack and crackers— in the oven. Bake another 10 minutes or until the crackers begin to brown. Ask a helper to remove the browned crackers and put crackers that aren’t ready yet back in the oven for a few more minutes until they until they are also hard and crunchy.

Makes about 36 Munchy Crunchy Crackers.

We’ve also got Jennifer’s recipe for Real Mac ‘n Cheddar Cheese.

Jennifer is inviting kids to send in pictures of their favourite recipes from the book to her website www.kitchenforkids.com

Excerpted from Everyday Kitchen for Kids (Whitecap Books) by Jennifer Low
Photo by Ryan Szulc from Everyday Kitchen for Kids (Whitecap Books)

Share:

Zippy Zucchini Muffins

EAT, snacks By September 5, 2012 Tags: , , , , , , No Comments

One of the biggest nutritious hits in our family are zucchini muffins: they’re tasty and nutritious. If your kids find the spice levels in this recipe aren’t appealing, adjust as needed. Your kids can help in preparing these zippy zucchini muffins from beginning to end, from measuring both dry and wet ingredients, stirring, pouring the muffin mix into the pans…and of course, eating them! You can also try this recipe with grated carrots, too.

Share:
The Best After-School Snacks

The Best After-School Snacks For Hungry Kids

EAT, snacks By August 20, 2012 Tags: , , , No Comments

Now that the kiddos are heading back to school, you need to have the pantry prepared for the traditional after-school-snacks raiding. Growing kids come back from school and sports practice famished–and here are the best after-school snacks for your hungry kids ideas that are healthy, filling, and will hopefully appeal to your kids’ perhaps-picky natures.

Veggie Dippers. Keep a ready supply of already-cut veggies on hand in plastic Ziploc bags (broccoli, celery, carrots, cauliflower, bell pepper strips, sugar snap peas, etc.) in the crisper. Let your kids pair them with dips, because many vegetables are rich sources of fat-soluble vitamins like Vitamin D and E. Try hummus, lowfat cream cheese with herbs, lowfat ranch dressing, or cucumber sauce.

Fruit Dippers or Cheesers. Slice up apples and pears and serve them paired with lowfat cheddar cheese or a lowfat cream cheese dip (try mixing sugar-free strawberry preserves with cream cheese for a fantastic dip).

Snack mix.  Make your own snack mix with Chex or Life cereal, dry-roasted nuts like almonds and peanuts, raisins, coconut shavings, and dried fruit and granola. Served with lowfat milk or yogurt, this is a powerhouse snack, packed with fiber, calcium, protein, and good energy-giving carbs.

Tortilla rollups. Keep whole wheat tortillas around and smear or fill them with a variety of items: hummus, tuna salad, shredded cheese and veggies, cream cheese and jelly, sliced ham or turkey, etc.

Mini-pizzas. Have your kids make their own with whole wheat English muffins, topped with pizza sauce, lowfat mozzarella cheese, and whatever toppings suit their tastes. Pop them in the toaster oven or under the broiler and in five minutes, you have a tasty, nutritious, and filling snack.


Share: