Browsing Category

EAT

Cheap Dinner Ideas

Cheap Dinner Ideas For Your Family

EAT, family meals By November 16, 2012 Tags: , , , , , , , , , , , , 2 Comments

Feeding a family can get pretty expensive.  If you’re not a great menu planner, here are a few ideas of healthful dinners that won’t break the bank.  If you have other cheap dinner ideas to add, please give us suggestions in the comments!

1.  A Baked Potato Bar if a great interactive family affair.  Each person can choose toppings, including sour cream, chives, bacon, cheese, chili, and baked beans.
2.  Pancit is a traditional Filipino dish that helps extend meat portions with the use of noodles and vegetables.
3.  Homemade Pizza is fun to make as a team and if you don’t want to make the dough, there are loads of ready-made pizza shells on the market.  Spread pizza sauce on the shells and let your little chefs become ‘pizza doctors’.
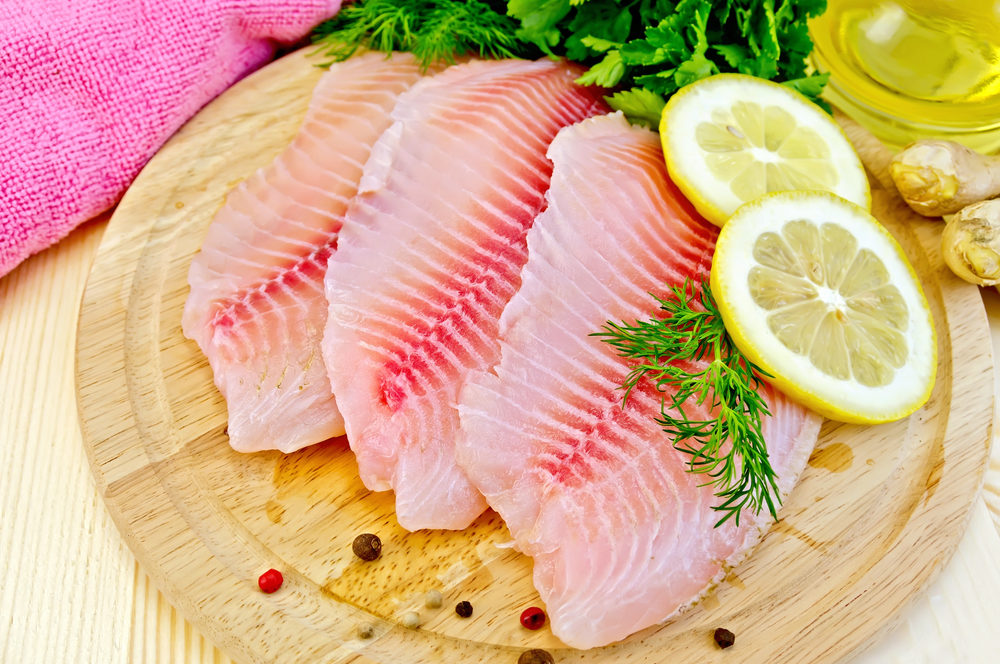
4.  Fish tacos using grilled frozen basa filets are healthy and economical.  Much like the baked potto bar, each family member can choose how to assemble their taco.  Tomatoes, salsa, cheese, greens and sauces all add spice and depth of flavor (as well as extending the more expensive fish part of the meal)
5.  Puff pastry filled with bean/lentil salad is nutritious and great for the family budget.
6.  French onion soup isn’t difficult to make.  We cook the onions for over an hour in olive oil with a piece of waxed paper covering them at the bottom of the saucepan.  Add beef stock, some stale French bread round s and grated cheese.  Voila.
7.  Crepes filled with hotdogs and tomato sauce for the kids and something a little more interesting for you are great to have on hand.
8.  Turkey a la king is simple and extends your holiday dinner leftovers.  Served with egg noodles it is a budget-friendly option.
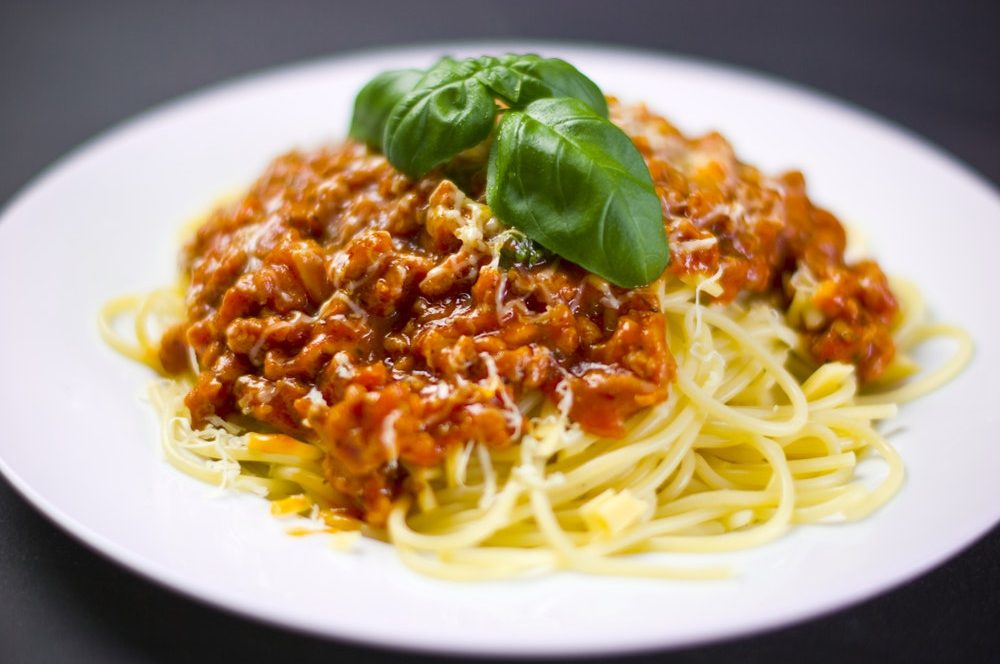
9. Spaghetti bolognaise (make the sauce in bulk when ground beef is on sale and freeze in portions.)
10.  Pulled pork sliders – do it in the crock pot for an easy and tasty meal.

Bon appetit!

Share:
halloween pet safety

Halloween Pet Safety

grow, holidays, LIVE By October 30, 2012 Tags: , , 1 Comment

Haloween Pet SafetySafety during Halloween extends to the entire family including pets. These safety tips from PetSmart will help ensure pet parents and their pets have a safe and fun Howl-O-Ween.

·         Keep them happy. “Before having pets join in the Halloween fun, it’s important to assess whether your pet will be comfortable participating or if the festivities will cause undue stress,” says Dr. Simon Starkey, pet care expert at PetSmart. “Pets may be alarmed to find a ghost or witch at the front door so make sure there’s a quiet space away from all the activity in case your pet needs it.”

·         Make sure treats are pet friendly. Many Halloween treats are not pet-friendly, especially those containing chocolate. Make sure to choose pet-safe treats to celebrate, such as GREENIES® Dental Chews, which also keep pets’ teeth clean and ensures their breath isn’t scary.

·         Keep them safe. If you plan to walk your dog around the neighborhood in the evening, make sure they’re properly outfitted and at ease around strangers and crowds. An adult should always have control of the dog’s leash, and reflective leashes, collars or ID tags are essential accessories. Some pet costumes also offer safety features such as the glow-in-the-dark Martha Stewart Pets™ black Halloween skeleton costume.

·         Decorations without danger. Halloween decorations can be scary, but should not be dangerous. Pet parents need to make sure curious cats and dogs are unable to reach lights, decorations, candles and other festive items.

Share:

Feast Rice

EAT, family meals By October 19, 2012 Tags: , , , , , , 1 Comment

Kids Feast RiceJennifer Low has a belief in teaching kids to cook healthy and fun meals and has developed 100 brand new recipes that use no sharp knives, no stove-top cooking and no motorized appliances.  In her new book – Everyday Kitchen for Kids, she encourages children to experience the thrill of cooking for the first time.  If you like Chinese fried rice, this recipe for Feast Rice—often served at big parties or feasts—lets you try out cool Asian ingredients to make your own version without any frying.

supplies

microwave-safe 1 1/2-quart (1.5 L) glass or ceramic baking dish, measuring cups, measuring spoons, baking spatula or wooden spoon, ordinary teaspoon, foil (or lid of baking dish), bowl, fork, kitchen scissors, oven mitts

ingredients

1 1/2 cups (375 mL) chicken or vegetable broth
2 Tbsp (30 mL) oyster sauce
3/4 cup (185 mL) long-grain white rice
1 Tbsp (15 mL) vegetable oil
1/2 tsp (2 mL) finely chopped garlic (from jar)
1 cup (250 mL) frozen mixed peas and diced carrots (or ask a helper to dice fresh carrot and celery)
1/4 tsp (1 mL) sesame oil
2 eggs
1 Tbsp (15 mL) milk pinch of salt
1 stalk green onion

Preheat the oven to 375°F (190°C).

In the baking dish and using a baking spatula or wooden spoon, mix the broth and oyster sauce. Heat in the microwave on high for 1 minute.

Remove the dish from the microwave. Using an ordinary teaspoon, stir in the rice, vegetable oil, garlic, peas and carrots, and sesame oil.

Spread out the rice evenly in the baking dish, then cover tightly with a lid or foil. Get help putting the dish in the oven. Bake on the middle rack of the oven for 30 minutes.

In the meantime, place the eggs, milk, and salt in a bowl and beat with a fork.

After the rice has baked 30 minutes, get help removing the lid or foil. Pour the egg mixture onto the middle of the rice. Do not stir. Cover the dish again and bake for another 10 to 15 minutes, until you can’t see any more liquid (If you are using a glass dish, you can see if there’s liquid bubbling around the sides of the rice. If you can’t see through your baking dish, ask a helper to help you check if the liquid is gone.)

Get help removing the dish from the oven and taking off the cover. Use kitchen scissors to snip the green onion into small pieces about the size of your smallest fingernail onto the rice. Throw away or compost the roots. Wear oven mitts, or get help, to stir the rice with a fork to fluff. Eat while warm.

Makes 4 cups (1 L).

Jennifer is inviting kids to send in pictures of their favourite recipes from the book to her website www.kitchenforkids.com

Excerpted from Everyday Kitchen for Kids (Whitecap Books) by Jennifer Low
Photo by Ryan Szulc from Everyday Kitchen for Kids (Whitecap Books)

Share:
munchy crunchy crackers

Homemade Munchy Crunchy Crackers Recipe

EAT, snacks By October 19, 2012 Tags: , , , , , , 1 Comment

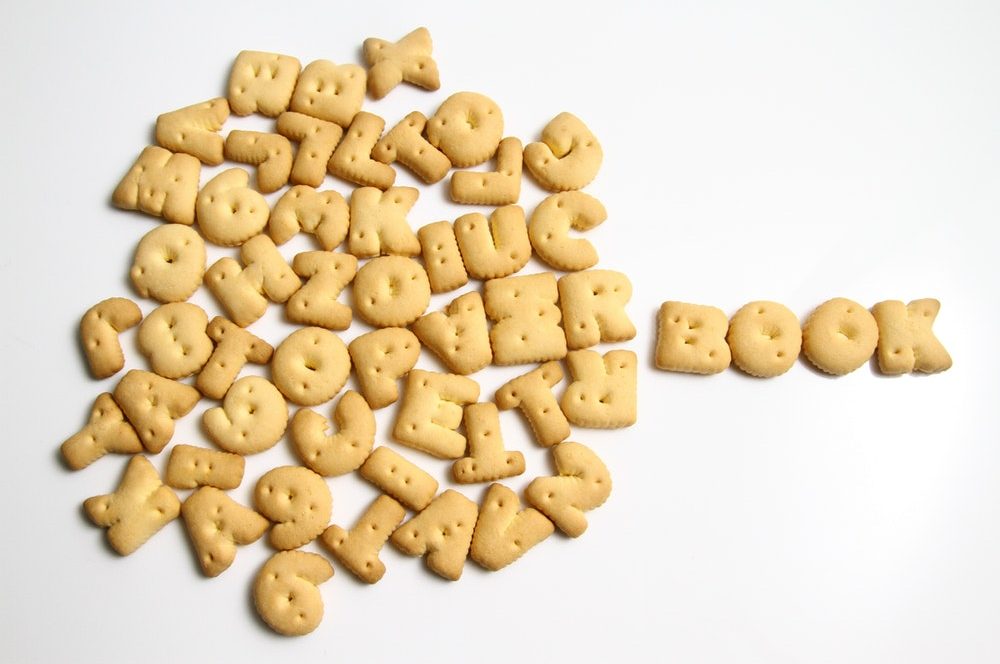
One of my biggest pet peeves as a parent is that so many store-bought crackers are filled with excess salt and bad grains.  (And to purchase all natural ones can blow your food budget.)  So I was thrilled to find Jennifer Low’s recipe for crunchy munchy crackers in Everyday Kitchen for Kids.  It’s amazing to make your own crackers! These taste so good on their own, but you can also eat them with cheese, if you like. You will need a helper with the baking step.

Supplies you will need

baking sheet, parchment paper, bowls, measuring cups, measuring spoons, baking spatula, dinner knife, rolling pin, fork, pizza wheel, cooling rack (the metal kind for cooling cookies)

Ingredients

1 cup (250 mL) all-purpose flour (spoon in, level; see page 19)
1/4 cup (50 mL) whole wheat flour (spoon in, level)
1/2 tsp (3 mL) chili powder
1/2 tsp (3 mL) dry mustard
1/2 tsp (3 mL) white sugar
1/3 cup (80 mL) milk
2 Tbsp (30 mL) butter

Preheat the oven to 350°F (175°C).

Cut three sheets of parchment paper, each the size of your baking sheet. Set aside.

In a bowl, mix the two kinds of flour, chili powder, dry mustard (be sure to use the back of a spoon to mash out any lumps), and sugar. Set aside.

In a microwave-safe bowl, heat the milk and butter in the microwave at 50% power until the butter is melted (about 1 minute).

Pour the milk mixture into the flour mixture. Use a baking spatula to scrape all the milk mixture into the flour bowl. Mix the ingredients into a dough, scraping sticky ingredients off the spatula with a dinner knife. When the dough gets too stiff to stir—keeping the dough in the bowl—use your hands to squeeze the dough against the crumbly bits and dry flour in the bottom of the bowl to work them into the dough.

Use a dinner knife to cut the dough into two equal-sized pieces. Put the first piece between two of the sheets of parchment paper you cut earlier. Put your rolling pin on the top sheet of parchment and roll out the dough to 1/16 inch (2 mm) (see “One- Quarter-Coin Rule,” page 17). To make excellent crisp crackers, it is very important to roll the dough that thin. First roll across the whole piece of dough to flatten it, then make it even thinner by rolling from the middle of the dough out to the edges. Press down hard. And just when you think it’s thin enough, roll it out again and check against the quarter coin. The dough puffs up a lot as it bakes.

Peel off the top sheet of parchment. Prick the rolled dough every inch (2.5 cm) with a fork. Use the pizza wheel to cut a checkerboard pattern into it. The squares should have about 1 1/2-inch (4 cm) sides. Don’t pull apart the squares of dough. Leave them exactly where you cut them, touching in rows. Slide the parchment paper—with the dough on it—onto a baking sheet. Bake for 15 minutes.

While the first batch bakes, roll out the second piece of dough between two pieces of parchment, prick and cut it the same way as the first. Bake this batch the same way as the first batch (either use a second baking sheet or cool off the first one and use it again). Keep the oven on after baking the second batch. You will still need to bake all the crackers again to crisp them.

Remove the baked crackers and parchment from the baking sheet. Put a cooling rack on the baking sheet. Pull apart the crackers into squares and place them on the cooling rack.

Put the baking sheet—holding the cooling rack and crackers— in the oven. Bake another 10 minutes or until the crackers begin to brown. Ask a helper to remove the browned crackers and put crackers that aren’t ready yet back in the oven for a few more minutes until they until they are also hard and crunchy.

Makes about 36 Munchy Crunchy Crackers.

We’ve also got Jennifer’s recipe for Real Mac ‘n Cheddar Cheese.

Jennifer is inviting kids to send in pictures of their favourite recipes from the book to her website www.kitchenforkids.com

Excerpted from Everyday Kitchen for Kids (Whitecap Books) by Jennifer Low
Photo by Ryan Szulc from Everyday Kitchen for Kids (Whitecap Books)

Share:
Chuck Hughes Veggie Sandwich

Chuck Hughes Veggie Sandwich

EAT, lunches By October 17, 2012 Tags: , , , , , 1 Comment

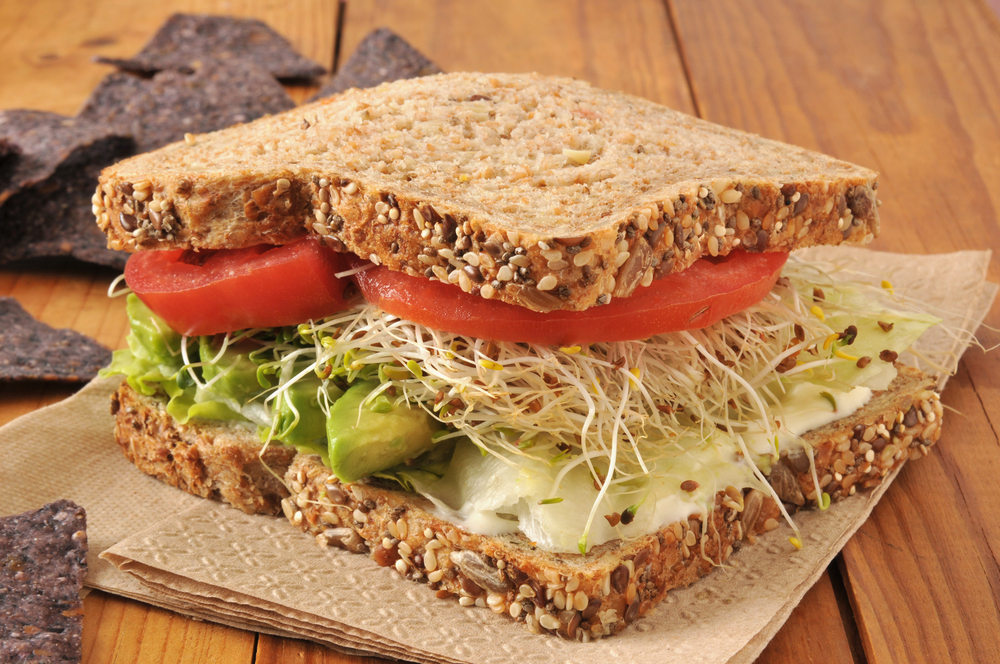
So based on recent research, we’ve discovered that kids toss away much more of their lunchtime food than we originally thought..  Oops.  Based on the outcome of the study, Hellmann’s partnered with Chuck Hughes to give parents a few new lunch tricks that will keep the school trash bins from filling up.  Here is Chuck Hughes Veggie Sandwich with a garlic mayo that will keep the kids wanting more.

Share:

Chuck Hughes Kid-Friendly Chicken Fingers

EAT, family meals By October 17, 2012 Tags: , , , , , 2 Comments

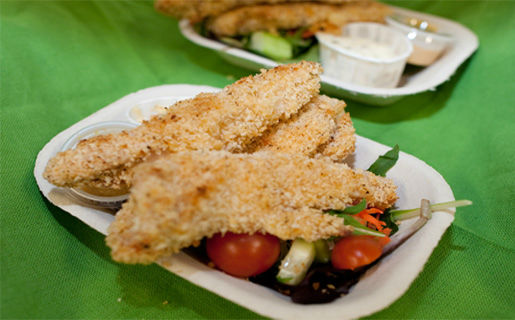
We all know that creative lunches can be hard to figure out.  But recent research By Hellmann’s indicates that we might be wasting more lunchtime food than we originally thought.  More than two thirds (72%) of Canadian parents who were polled believe that their children do not throw away lunch items while almost a third (31%) of Canadian children admit they throw out some of their lunch items, and nearly half (46%) report that they regularly trade some of their lunch items with friends.  Oops.  Based on the outcome of the study, Hellmann’s partnered with Chuck Hughes to give parents a few new lunch tricks that will keep the school trash bins from filling up.  Here are Chuck Hughes Kid-Friendly Chicken Fingers. 

Just make sure they are kept nice and cold when you send them to school.  (We love the Land’s End Madbox for this feature)!

Ingredients

  • 2 Skinless Chicken breasts
  • Half cup of whole wheat flour
  • Half cup of Hellmann’s® mayonnaise
  • 1 cup whole wheat bread crumbs or panko
  • 1 tsp of cajun spice
  • Half tsp of garlic powder
  • Salt and Pepper
  • Zest of a lemon


Steps


  1. Cut strips of chicken and dredge in whole wheat flour.
  2. Then coat the chicken with Hellmann’s® mayonnaise and toss in with the breadcrumbs, zest, cajun spice, garlic powder and Salt and Pepper
  3. Place Strips on a plaque covered with parchment paper. Pre-heat oven at 400 degrees
  4. Place in oven for approx 25 minutes flipping them half-way
  5. Serve with Honey-Mustard, ketchup and Caesar mayonnaise- see below


Caesar Mayonnaise….

  • Half cup Hellmann’s® mayonnaise
  • 1 tsp of chopped capers
  • zest of half lemon and 1 tsp of juice
  • 1 tbsp of chopped parsley
  • 2 tbsp of grated parmesan
  • Salt and Pepper

Mix everything in a bowl and serve.


Share:

Real Mac ’n’ Cheddar Cheese

EAT, family meals By October 15, 2012 Tags: , , , , , , , , , 1 Comment

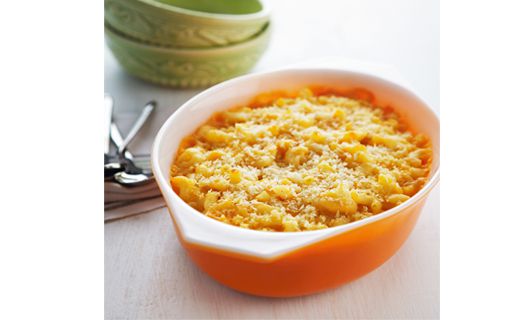
Jennifer Low has done it again!  With a belief in teaching kids to cook healthy and fun meals, she has developed 100 brand new recipes that use no sharp knives, no stove-top cooking and no motorized appliances.  In her new book – Everyday Kitchen for Kids, she encourages children to experience the thrill of cooking for the first time.  We’ve been given a peek and can’t wait to get into the kitchen.  (But with stilettos instead of bare feet.)  Here’s a teaser for you – Real Mac ’n’ Cheddar Cheese.

Makes 3 cups (750 mL).

Supplies

2 1⁄2-quart (2.5 L) glass or ceramic baking dish, baking spatula, measuring cups, measuring spoons, foil (or lid of baking dish), bowls, whisk, wooden spoon.

Ingredients

macaroni

1 1⁄2 cups (375 mL) uncooked elbow macaroni
1 tsp (5 mL) vegetable oil
2 1⁄3 cups (580 mL) warm tap water

cheese sauce

1⁄4 cup (60 mL) unsalted butter
3 Tbsp (45 mL) all-purpose flour
1⁄2 tsp (2 mL) dry mustard
1⁄2 tsp (2 mL) salt
1⁄2 tsp (2 mL) white sugar
1⁄4 tsp (1 mL) onion powder
1⁄8 tsp (0.5 mL) chili powder
1 cup (250 mL) milk
1 1⁄2 cups (375 mL) pre-grated cheddar cheese

breadcrumb topping

1 Tbsp (15 mL) unsalted butter
1⁄2 cup (125 mL) dry breadcrumbs
pinch of salt

Preheat the oven to 375°F (190°C).

In the baking dish and using a baking spatula, mix the macaroni with the vegetable oil until the macaroni is well coated.

Pour the warm water onto the macaroni. Cover tightly with a lid or foil. Bake for 30 minutes. Get help taking it out of the oven. Keep covered for at least another 15 minutes. The macaroni softens some more and the baking dish cools off a bit.

Meanwhile, make the sauce. In a large microwave-safe bowl, melt the butter in the microwave at 50% power (about 1 minute). Use a whisk to mix in the flour until smooth. Then mix in the dry mustard, salt, sugar, onion powder, and chili powder. Gradually whisk in the milk until smooth.

Heat the sauce in the microwave on high for 1 minute (or longer, but only 1 minute at a time so it doesn’t foam over), until the sauce is bubbly and thickened. Get help removing the bowl from the microwave. Cool slightly so the bowl isn’t too hot to touch.

Stir the cheddar into the sauce. The cheese does not need to be fully melted in right now. Set aside.

Next make the breadcrumb topping. In a large microwave-safe bowl, heat 1 Tbsp (15 mL) unsalted butter in the microwave at 50% power until melted (about 30 seconds). Mix in the breadcrumbs and salt. Use the back of a wooden spoon to mash the breadcrumbs into the butter to break up lumps.

Get help uncovering the dish of macaroni (there should be some water left in the bottom of the dish). Using a baking spatula, scrape the cheese sauce onto the macaroni. Stir well. Spread the macaroni evenly in the dish. Sprinkle the breadcrumbs on top. Bake, uncovered, for about 20 minutes, or until the breadcrumbs are lightly golden.

Jennifer is inviting kids to send in pictures of their favourite recipes from the book to her website www.kitchenforkids.com

Excerpted from Everyday Kitchen for Kids (Whitecap Books) by Jennifer Low
Photo by Ryan Szulc from Everyday Kitchen for Kids (Whitecap Books)

Share:
12 healthy breakfast ideas

12 Healthy Breakfast Ideas For Your Family

EAT, family meals By October 10, 2012 Tags: , , , , , , , , , , , , , , , , , No Comments

Truly the most important meal of the day, breakfast should not be skipped – especially for kids heading off to learn at school.  We’ve put together 12 healthy breakfast ideas, some of which can be made in advance and frozen.  Moms need to save all the time possible in the morning!

Smoothies are a fabulous option and a great way to add fruit and vegetables to the diet.  We like to ‘hide’ spinach in smoothies and disguise it with dark fruit like blueberries.

Mini quiche are great to make in mini muffin tins and an easy place to throw in tiny peppers, cheese, bacon and herbs.

Shaped pancakes are fun to make in huge batches and keep in the freezer.  You can pull out a few at a time for the kids and heat.

Breakfast wraps (we call them ‘hand snacks’) are fun with scrambled eggs, cheese and salsa.  Wrap the end in tinfoil and they become a great portable breakfast option!

Oatmeal from scratch is easy when you add mil to the oats and finish with with cinnamon and brown sugar.

Homemade muffins are fantastic for hiding pureed or grated veggies such as zucchini and carrot.  Here are our zippy zucchini ones.

Whole grain waffles that you can pop in the toaster make a great start to the day.  Try to opt of real maple syrup over the artificially flavoured ones..

Poached eggs on whole wheat toast are a favourite in our household.  You can skip the hollandaise to save a few calories.  And a ton of time!

Granola with a few hidden chocolate chips at the bottom of the bowl helps my kids eat everything.  Wink.

Scrambled Eggs and Smoked Salmon on brown toast is a great way to start the day, and packs a ton of lean protein.

Ham and Eggs is a great way to begin a day and the protein boost will help the kids retain the juicy tidbits they learn at school.

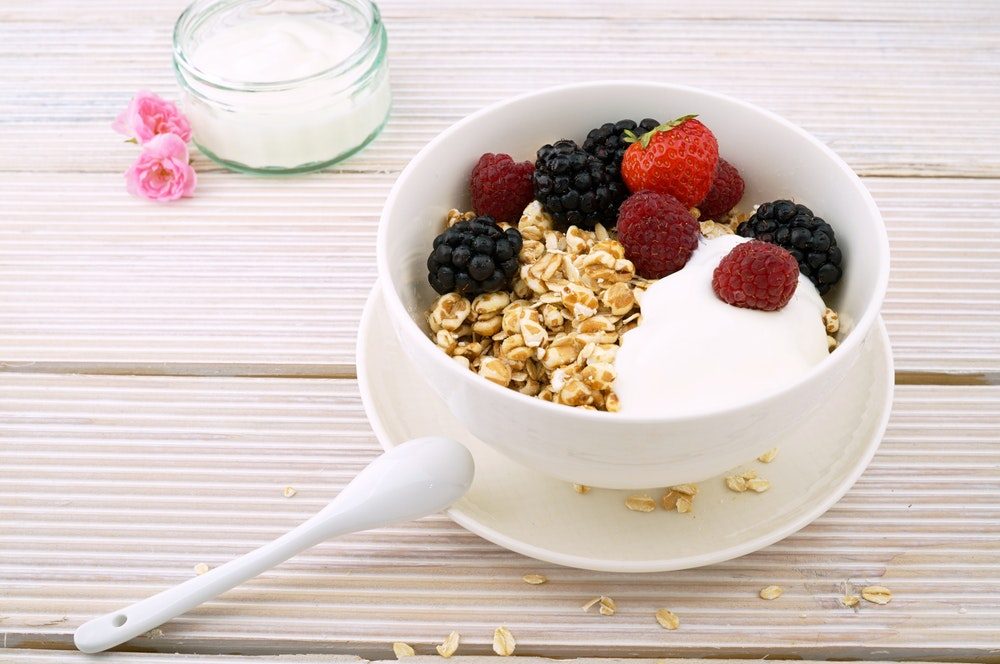
Cut up fruit with Greek yoghurt dip is a healthy snack, and you can make fun patterns with different shapes of fruit – a sailboat scene for instance.  Sprinkled with chia and hemp seeds, it packs a ton of omega 3’s. Enjoy your breakfast!!

Share:

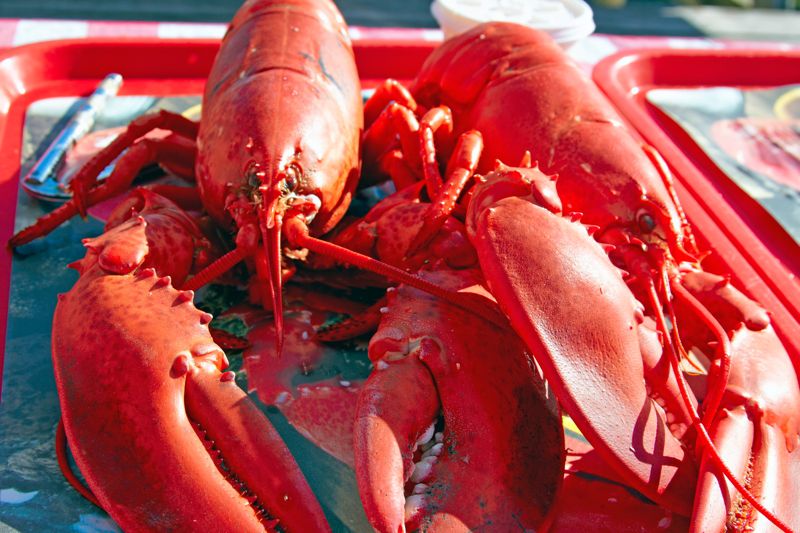
Rich Atlantic Lobster Casserole

EAT, family meals By October 1, 2012 Tags: , , , , , , , , No Comments

My mom used to make this for special parties.  The recipe was originally created by ‘Nanny Whiz’ who was a dear friend, kindred spirit and master chef.  Filled with flavour, this versatile rich Atlantic lobster casserole can sit in a chafing dish or crockpot for entertaining, and you can serve it over rice, in patty shells or with noodles.  It works well in tiny shells as a ‘mini dinner’ for kids as well.  Just make sure you skip the sherry..

Serves 10.

2 c. lobster meat
2 lb. scallops
1lb. haddock
1/2 butter
1/2 c. flour
3 cups milk
4T. cooking sherry
3 c. diced mushrooms
1/2 c. parmesan cheese

Steam scallops with haddock for 5 minutes and set aside.  Make a cream sauce using the butter, milk and flour.  (Combine flour and butter with a whisk over low heat and gradually add the milk).  Once the sauce thickens, add sherry (for adults) and mushrooms and simmer 5 minutes while stirring.  Add the fish and seafood to a casserole dish and pour in sauce mixture.  Sprinkle parmesan cheese on top and bake for 30 minutes in the over at 325 degrees.  You could also cook on a stovetop, fill patty shells or scoop over a starch and sprinkle parmesan over top at the end.

Share: